Cinnamon Toast Crunch Cookies Recipe – Sweet & Crunchy
Cinnamon Toast Crunch Cookies Recipe – Sweet & Crunchy
If you think cookies can’t be both sweet and crunchy, you might want to reconsider with the Cinnamon Toast Crunch Cookies recipe. Combining the nostalgic flavor of your favorite cereal with rich butter and white chocolate chips creates a unique treat that challenges traditional cookie expectations. You won’t just satisfy your sweet tooth; you’ll find yourself relishing each unique texture. And while you might think you know what to expect, there are some clever twists that enhance these cookies further. Curious about the steps to create this delightful concoction?
Key Takeaways
- The recipe features butter, sugars, cinnamon, and crushed Cinnamon Toast Crunch for a sweet and crunchy flavor profile.
- Mix wet and dry ingredients separately before forming the dough into balls and rolling in crushed cereal.
- Bake cookies at 350°F for 8-13 minutes until golden, then cool briefly before transferring to a rack.
- A glaze made from powdered sugar, milk, vanilla, and cinnamon adds extra sweetness to the cookies.
- Store leftovers in an airtight container in the fridge to maintain freshness and crunch.
History
Cinnamon Toast Crunch has a rich history that dates back to 1984 when General Mills first introduced this iconic cereal. It began as plain squares but soon evolved to feature cinnamon-colored swirls on each piece, creating its now-signature look. Scientists John Mendesh and Elisabeth Trach invented this cereal, drawing inspiration from a fanciful idea submitted by a child during a General Mills radio contest.
Originally marketed outside Europe, the cereal featured a jolly baker mascot named Wendell, along with two other bakers, Bob and Quello, introduced in 1985. By 1991, Wendell became the sole mascot, though he was phased out in 2013 as marketing strategies shifted. The cereal’s distinct cinnamon-sugar flavor quickly captivated audiences, leading to its lasting popularity.
Targeted primarily at children in the U.S., Cinnamon Toast Crunch has experienced numerous product variations and special editions over the years. Its popularity led to the cereal’s introduction in international markets, such as the UK and Latin America, where it was marketed under different names.
From its delicious flavor to its evolving marketing approaches, Cinnamon Toast Crunch has solidified its place as a beloved cereal worldwide, inspiring numerous culinary adaptations and products.
Recipe
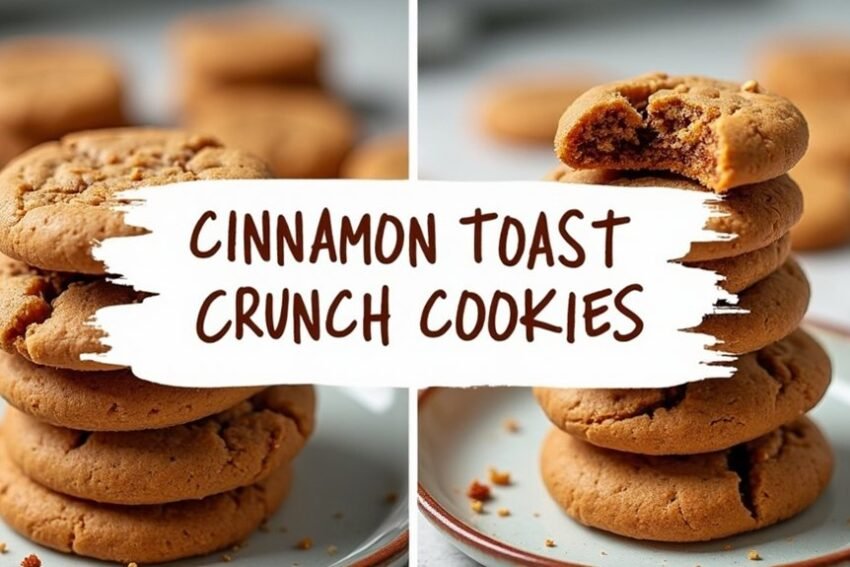
Cinnamon Toast Crunch Cookies Recipe
If you’re looking for a delightful twist on a classic treat, these Cinnamon Toast Crunch cookies are sure to hit the spot. Combining the rich flavors of butter, sugars, and spices with the irresistible crunch of everyone’s favorite cinnamon cereal, these cookies deliver a nostalgic taste that’s both crunchy and soft. Notably, the cookies are rolled in blended Cinnamon Toast Crunch cereal for an extra layer of flavor and crunch.
Perfect for sharing with friends and family, these cookies are also easy to make and incredibly addictive. With a glaze drizzled on top and a crunchy exterior, these cookies offer a great texture balance. Follow this easy recipe to create your batch of delicious Cinnamon Toast Crunch cookies, and enjoy the comforting flavors they bring to your kitchen.
Ingredients:
- 1 cup softened butter
- 1/2 cup granulated sugar
- 3/4 cup brown sugar
- 1 egg
- 1 tsp vanilla extract
- 2 cups all-purpose flour
- 1 tsp baking soda
- 1 tsp cornstarch
- 1 tsp cinnamon
- 1 cup Cinnamon Toast Crunch cereal for the batter
- 1 cup crushed Cinnamon Toast Crunch cereal
- 1 cup Cinnamon Toast Crunch crumbs for rolling
- 1 cup white chocolate chips
- 1/4 cup softened butter (for streusel)
- 1/4 cup brown sugar (for streusel)
- 1/2 cup flour (for streusel)
- 1/2 tsp cinnamon (for streusel)
- 1 1/2 cups powdered sugar (for glaze)
- 2 tbsp milk (for glaze)
- 1/2 tsp vanilla extract (for glaze)
- 1/4 tsp cinnamon (for glaze)
Cooking Instructions:
Preheat your oven to 350°F and line baking sheets with parchment paper. In a blender, crush the Cinnamon Toast Crunch cereal into fine crumbs.
In a stand mixer, beat together the softened butter, granulated sugar, and brown sugar until creamy. Add in the egg and vanilla extract, mixing until well combined. Gradually add the dry ingredients (flour, baking soda, cornstarch, and cinnamon) and mix until just combined.
Fold in the crushed cereal and white chocolate chips. Use a large cookie scoop to form dough balls, rolling them in the crushed Cinnamon Toast Crunch cereal to coat. Place the cookies on the baking sheet and bake for 8-13 minutes, allowing them to cool on the sheet for 5-10 minutes before transferring to a cooling rack.
For the glaze, mix the powdered sugar, milk, vanilla extract, and cinnamon until smooth, then drizzle it over the cooled cookies.
Extra Tips:
To improve your baking experience, consider using a stand mixer for efficient mixing and avoid overworking the dough to maintain the perfect texture.
For easier handling, you can chill the dough before rolling it. Make sure to crush the Cinnamon Toast Crunch into fine crumbs for better coating consistency.
To add a creative flair, experiment with variations by incorporating different cereals, adding a marshmallow filling, or sprinkling some flaky sea salt on top for a delightful contrast to the sweetness. Enjoy your baking!
Final Thoughts
In the domain of baking nostalgia and flavor, Cinnamon Toast Crunch cookies deliver a delightful experience that’s hard to beat.
These cookies not only bring back memories but also showcase a variety in preparation methods and ingredients.
Here are some key takeaways:
-
Variety in Recipes: You can find multiple recipes ranging from homemade versions to ready-to-bake options like Pillsbury and Betty Crocker mixes.
-
Ingredient Focus: Using Cinnamon Toast Crunch cereal is essential for achieving that authentic, strong cinnamon flavor. Additionally, the Pillsbury Soft Baked Cinnamon Toast Crunch Cookies are ready to eat right out of the package, offering convenience for snacking.
-
Texture and Taste: Expect a delightful combination of soft, chewy, and crunchy textures in every bite.
Nutritionally, awareness is important:
-
Calories: Serving sizes typically range from 80 to 150 calories.
-
Allergens: Be cautious, as these cookies may contain common allergens like egg, soy, wheat, and milk.
Regardless of the approach you choose, these cookies make for a satisfying treat that’s perfect for any occasion.
Whether you opt for a homemade recipe or a store-bought option, the Cinnamon Toast Crunch experience promises to be both comforting and delicious.
Enjoy your baking adventures!
FAQ
If you’ve got questions about Cinnamon Toast Crunch cookies, you’re not alone! Here are some frequently asked questions to help guide you through the process.
What makes these cookies special?
They’re unique due to the crushed Cinnamon Toast Crunch cereal and the delightful cinnamon sugar flavor.
Key Ingredients:
– Unsalted butter
– Granulated sugar
– Brown sugar
– Eggs
– Vanilla extract
– All-purpose flour
– Cornstarch
– Baking soda
– Cinnamon
– Cinnamon Toast Crunch cereal
Baking Tips:
– Preheat your oven to 350°F.
– Bake for 11-13 minutes.
– Let the cookies cool for 2-5 minutes on the pan before transferring them to a cooling rack. They feature a blend of traditional snickerdoodle flavors and nostalgia.
Ingredient Substitutions:
– You can add white chocolate chips for extra flavor.
– Use 1 teaspoon of ground cinnamon for seasoning.
– Sugar levels can be adjusted to taste.
Storage:
You can make the cookies in advance. Store leftovers in an airtight container in the fridge.
Typically, a recipe yields about 15 large or 30 small cookies. Enjoy your baking!